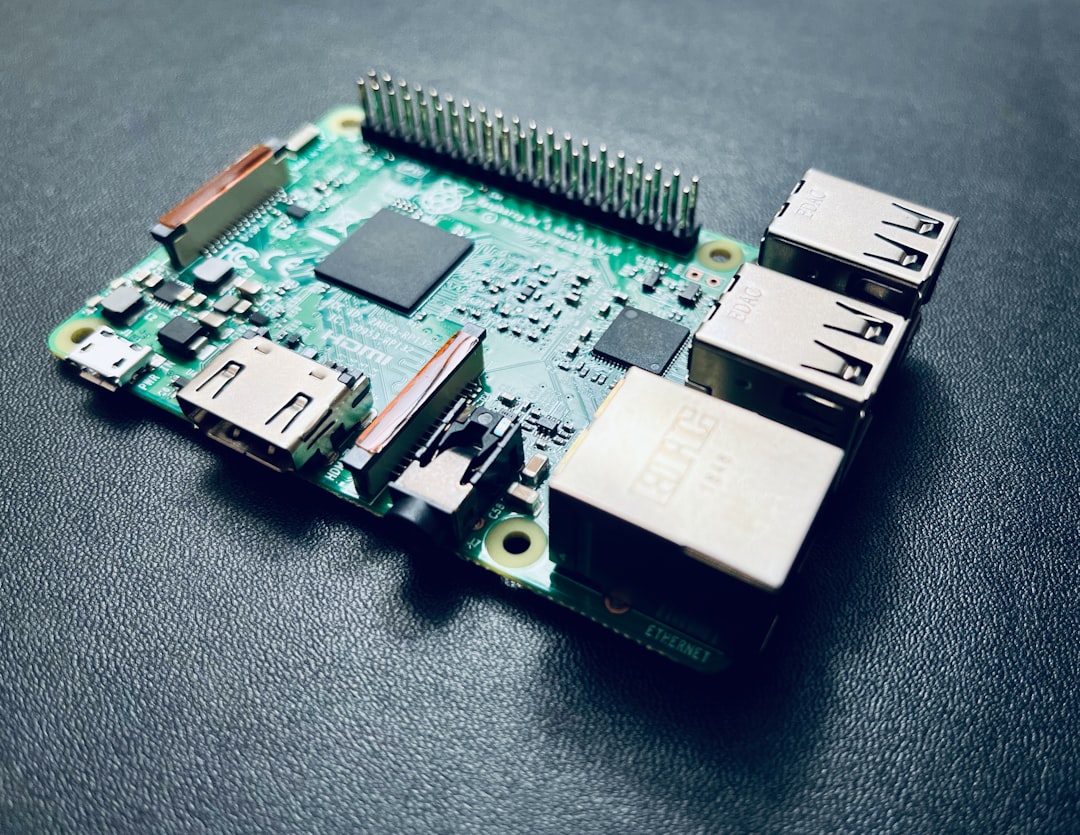
10 Useful Raspberry Pi Projects for Your Home Lab
The Raspberry Pi is the Swiss Army knife of the homelab world. At $35-80 depending on the model, it's cheap enough to dedicate to a single task — and that's exactly how you should use it. Don't try to make one Pi do everything. Buy a few and give each one a job.
This list focuses on projects that are genuinely useful day-to-day, not just cool demos you'll play with once and forget. Every project here runs on a Pi 4 or Pi 5, and most will work fine on a Pi 3B+ if that's what you have lying around.
![]()
1. Pi-hole: Network-Wide Ad Blocking
This is the single most popular Pi project for good reason. Pi-hole acts as a DNS sinkhole — it intercepts DNS queries from every device on your network and blocks requests to known ad and tracking domains.
curl -sSL https://install.pi-hole.net | bash
Point your router's DHCP settings to hand out the Pi's IP as the primary DNS server, and every device on your network gets ad blocking without installing anything.
Why it's worth it: Blocks ads on devices that don't support ad blockers (smart TVs, IoT devices, mobile apps). Reduces bandwidth and speeds up page loads. The query log also reveals which devices are phoning home and where.
Hardware: Pi 3B+ or newer. Pi-hole uses minimal resources — 512 MB RAM is plenty. A Pi Zero 2 W works if you want the smallest possible footprint.
2. Uptime Kuma: Service Monitoring
If you run any services (even just on your home network), you need to know when they go down. Uptime Kuma is a self-hosted monitoring tool with a clean UI and notification support via Discord, Telegram, email, and dozens of other channels.
docker run -d --restart=always -p 3001:3001 \
  -v uptime-kuma:/app/data \
  --name uptime-kuma louislam/uptime-kuma:1
Set it up to ping your NAS, router, other Pis, and any web services you care about. You get uptime stats, response time graphs, and instant alerts when something goes offline.
Hardware: Pi 4 with at least 2 GB RAM. Docker runs fine on Pi OS 64-bit.
3. WireGuard VPN Server
Running WireGuard on a Pi gives you encrypted access to your home network from anywhere. It's faster and simpler than OpenVPN, and the Pi handles the encryption without breaking a sweat.
# PiVPN makes this painless
curl -L https://install.pivpn.io | bash
Choose WireGuard when the installer asks. It will generate client configs you can import into the WireGuard app on your phone or laptop.
Why a Pi specifically: A VPN server should be always-on and reliable. Dedicating a low-power Pi to this means it doesn't get rebooted when you're tinkering with your main server. At 3-5 watts, it costs pennies to run 24/7.
Hardware: Pi 4 (2 GB) minimum. The Pi's Gigabit Ethernet is technically limited to ~300 Mbps due to the USB bus, but that's plenty for VPN traffic.
Want more hardware guides? Get guides like this in your inbox — HomeLab Starter delivers one free deep-dive every week.
4. Home Assistant: Home Automation Hub
Home Assistant turns a Raspberry Pi into a smart home controller that works with practically everything — Zigbee, Z-Wave, WiFi devices, Philips Hue, Ikea TRADFRI, and hundreds of other ecosystems.
The recommended install method is Home Assistant OS, which takes over the entire Pi:
- Flash Home Assistant OS to an SD card (or better, an SSD via USB)
- Boot the Pi
- Navigate to
http://homeassistant.local:8123
What makes it great: Local control. Your automations keep working when the internet goes down. You're not dependent on some company's cloud server staying online. Plus, the automation engine is incredibly powerful — trigger anything based on time, sensor data, presence, weather, or the state of any connected device.
Hardware: Pi 4 (4 GB) with an SSD is strongly recommended. SD cards will wear out from Home Assistant's constant database writes. Add a Zigbee USB coordinator (like the Sonoff ZBDongle-E, ~$15) to control Zigbee devices directly.
5. Grafana + Prometheus: Monitoring Dashboard
There's something deeply satisfying about a wall-mounted dashboard showing your network stats, server health, and environmental data. Prometheus collects metrics, and Grafana makes them beautiful.
On the Pi, install both via Docker Compose:
services:
  prometheus:
    image: prom/prometheus:latest
    ports:
      - "9090:9090"
    volumes:
      - ./prometheus.yml:/etc/prometheus/prometheus.yml
  grafana:
    image: grafana/grafana:latest
    ports:
      - "3000:3000"
    volumes:
      - grafana-data:/var/lib/grafana
volumes:
  grafana-data:
Add node_exporter on every machine you want to monitor. Within an hour you'll have CPU, RAM, disk, and network graphs for your entire lab.
Hardware: Pi 4 (4 GB). Prometheus can be RAM-hungry with many targets and long retention.
6. Nginx Proxy Manager: Reverse Proxy
If you run multiple web services across your homelab, Nginx Proxy Manager gives you a single entry point with SSL certificates and clean URLs. Instead of remembering 192.168.1.50:8096 for Jellyfin and 192.168.1.50:3000 for Grafana, you get jellyfin.home.lan and grafana.home.lan.
docker run -d --restart=always \
  -p 80:80 -p 443:443 -p 81:81 \
  -v npm-data:/data \
  -v npm-letsencrypt:/etc/letsencrypt \
  --name npm jc21/nginx-proxy-manager:latest
The web UI (port 81) lets you add proxy hosts, request SSL certificates from Let's Encrypt, and manage redirects — all without touching nginx config files.
Hardware: Pi 3B+ or newer. Very lightweight.
7. Unbound: Recursive DNS Resolver
Pair this with Pi-hole for maximum DNS privacy. Instead of forwarding your DNS queries to Google (8.8.8.8) or Cloudflare (1.1.1.1), Unbound resolves queries by talking directly to the authoritative nameservers. No middleman sees your full browsing history.
sudo apt install unbound

# Download root hints
sudo wget -O /var/lib/unbound/root.hints \
  https://www.internic.net/domain/named.root
Configure Pi-hole to use 127.0.0.1#5335 as its upstream DNS (Unbound's default port), and you have a fully self-contained DNS stack.
Hardware: Runs on the same Pi as Pi-hole. Together they use under 200 MB of RAM.
8. Telegraf + InfluxDB: Environmental Monitoring
Plug a DHT22 or BME280 sensor ($5-10) into a Pi's GPIO pins and you can track temperature and humidity in your server closet, basement, or anywhere else.
# Read BME280 sensor data (Python)
import bme280
import smbus2

port = 1
address = 0x76
bus = smbus2.SMBus(port)
bme280.load_calibration_params(bus, address)
data = bme280.sample(bus, address)

print(f"Temperature: {data.temperature:.1f}°C")
print(f"Humidity: {data.humidity:.1f}%")
print(f"Pressure: {data.pressure:.1f} hPa")
Feed the data into InfluxDB via Telegraf, visualize in Grafana, and set alerts when your server room gets too hot. This has actually saved equipment for people who caught cooling failures early.
Hardware: Pi Zero 2 W is perfect for this — tiny, low power, has GPIO. Add a BME280 breakout board ($5).
9. Ntfy: Self-Hosted Push Notifications
Ntfy (pronounced "notify") is a dead-simple HTTP-based notification service. Send a push notification to your phone with a single curl command:
curl -d "Your backup just finished" ntfy.sh/your-homelab-alerts

# Or self-hosted:
curl -d "Disk space low on NAS" http://pi-ntfy:8080/homelab-alerts
Run the server on a Pi and install the ntfy app on your phone. Then integrate it into all your scripts — backup completions, failed cron jobs, security alerts, whatever. It replaces the need for email notifications in most cases.
docker run -d --restart=always -p 8080:80 \
  -v ntfy-cache:/var/cache/ntfy \
  --name ntfy binwiederhier/ntfy serve
Hardware: Pi 3B+ or newer. Extremely lightweight.
10. PiKVM: Remote Server Management
This is the most hardware-intensive project on the list, but it's incredibly useful. PiKVM turns a Pi into a KVM-over-IP device — you get remote keyboard, video, and mouse access to any machine, even before the OS boots. Think of it as a poor man's IPMI/iLO/iDRAC.
You need:
- Raspberry Pi 4
- An HDMI-to-CSI capture board (~$20-40)
- A USB-C to USB-A cable (for keyboard/mouse emulation)
Install PiKVM OS, connect the HDMI output of your server to the Pi's capture board, and connect the Pi's USB-C port to the server's USB port. You can now control the server remotely through a web browser — see the BIOS, change boot order, install an OS, all from your couch or from the other side of the world.
Why it matters: When your headless server won't boot, you normally have to drag a monitor and keyboard to it. With PiKVM, you just open a browser tab.
Hardware: Pi 4 (2 GB) minimum. The capture board is essential — get one based on the Toshiba TC358743 chip for best compatibility.
Tips for Pi Projects
Use SSDs, not SD cards. SD cards die. For any Pi that runs 24/7 with writes (databases, logging), boot from a USB SSD. A 120 GB SATA SSD in a USB enclosure costs $15 and will outlast dozens of SD cards.
Run 64-bit Pi OS. The 64-bit version of Raspberry Pi OS gives you better performance and access to more Docker images. There's no reason to run 32-bit anymore on a Pi 3B+ or newer.
Label your Pis. Once you have three or four running, you will forget which one does what. Use a label maker or painter's tape.
Set static IPs or DHCP reservations. Pis running services need predictable addresses. Configure this on your router or in each Pi's network settings.
Monitor power. Pis are sensitive to power supply quality. Use official Pi power supplies or quality USB-C power supplies rated for at least 3A. The lightning bolt icon in the top right of Pi OS means your power supply is insufficient.
The Raspberry Pi won't replace a proper server for heavy workloads, but that's not the point. Its strength is dedicated, single-purpose, low-power infrastructure that you can scatter around your home and forget about. Five Pis running five services is more resilient than one server running everything — when you reboot the VPN Pi, your DNS and monitoring keep working.